


TL;DR:
Proper clear coat repair starts with meticulous surface preparation. This includes detailed cleaning, light sanding for enhanced bond strength, using the right abrasive paper, and thorough post-sanding cleaning. Skipping this step can lead to repair issues. Using mild, pH-neutral cleaners prevents existing paint damage. Thorough contaminant removal ensures a durable, even finish for professional results in car scratch repair and bodywork renovations. Engaging a reputable car body shop guarantees flawless execution of these initial steps.
“Avoid common pitfalls and ensure successful clear coat repairs with this comprehensive guide. Many enthusiasts make mistakes that compromise the integrity of their projects, leading to unsightly finishes and premature deterioration. From surface preparation blunders like neglecting decontamination, to application errors such as using unsuitable products or incorrect techniques, every step matters. Learn from these oversights, master proper aftercare, and safeguard your clear coat repairs for years to come.”
- Preparation and Surface Readiness
- – Neglecting surface preparation: Why it matters and best practices.
- – Common mistakes in cleaning and decontaminating the repair area.
Preparation and Surface Readiness

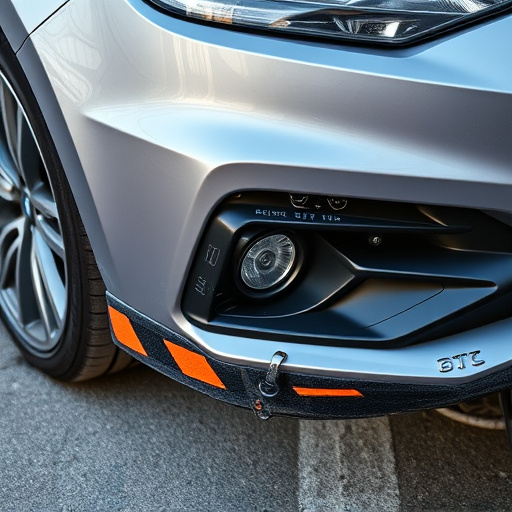
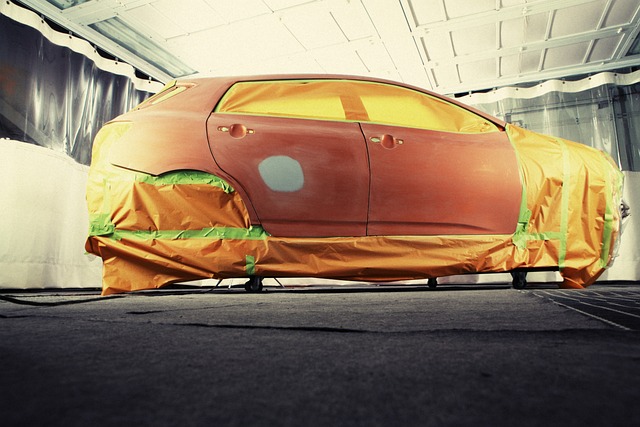
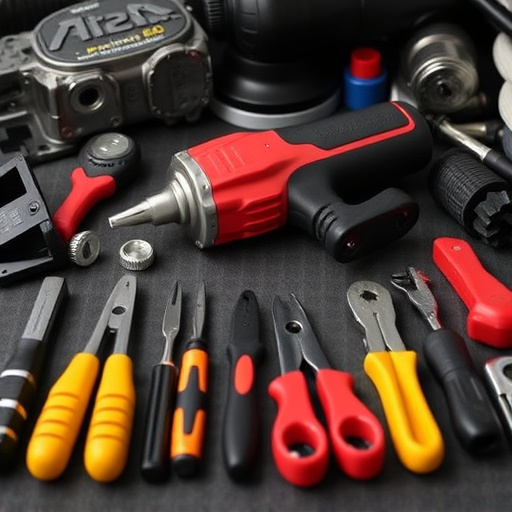
Before starting any clear coat repair project, ensuring proper preparation and surface readiness is paramount to achieving a flawless finish. A car body restoration process begins with meticulously inspecting the damaged area, removing loose debris, and addressing any existing rust or corrosion. This step is crucial as it lays the foundation for the effectiveness of your clear coat repair techniques.
For optimal results in car scratch repair, the surface must be clean, smooth, and free from contaminants. Sanding and priming may be required to create a seamless base for the new clear coat. Visiting a reputable car body shop with experienced technicians ensures that these initial steps are executed flawlessly, setting up the project for success and enhancing the longevity of the repair job.
– Neglecting surface preparation: Why it matters and best practices.
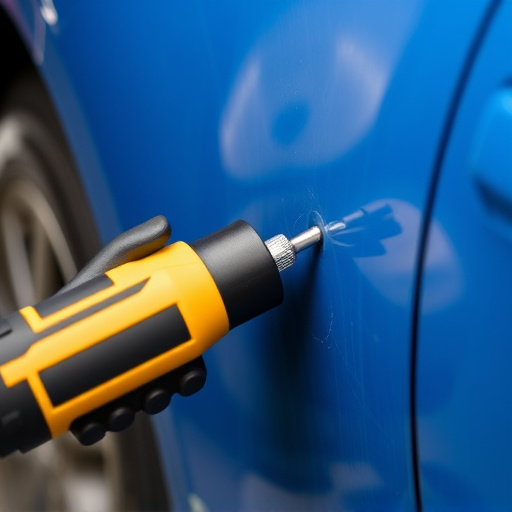
Surface preparation is a crucial step in any clear coat repair project that’s often overlooked. It’s easy to assume that simply sanding and wiping down the damaged area will do, but this can lead to subpar results and future issues. Every surface must be meticulously prepared to ensure the new clear coat adheres properly. This involves removing all contaminants like dust, grease, and grime using specialized cleaners and degreasers. The next step is to sand the area lightly to create a rough texture, allowing the clear coat to bond effectively. For auto glass repair or even tire services, this process becomes even more critical as it ensures the structural integrity of the repair.
Best practices dictate that you use the right abrasive paper for the job, starting with coarse grits for heavy removal and ending with fine grits for a smooth finish. After sanding, a thorough cleaning is mandatory to eliminate any remaining debris. This step often requires patience and attention to detail, but it’s essential for achieving Mercedes Benz repair-quality results that last. Ignoring surface preparation can result in bubbles, cracks, or an uneven coat, so taking the time to do it right is key to successful clear coat repairs.
– Common mistakes in cleaning and decontaminating the repair area.

In any clear coat repair project, whether it’s a simple car scratch repair or a more extensive fender repair, proper cleaning and decontamination are crucial steps that often get rushed or overlooked. One common mistake is using harsh chemicals or aggressive scrubbers on the vehicle bodywork, which can damage the existing clear coat and paint job. Always opt for mild, pH-neutral cleaners designed specifically for automotive use to avoid unwanted side effects like etching or stripping away protective layers.
Another blunder is failing to thoroughly remove all contaminants, including dust, dirt, and oils from the repair area. Even microscopic particles can cause issues during the clear coat application process, leading to an uneven finish or early degradation of the repair. Remember, a clean canvas is essential for achieving professional results in both car scratch repair and more complex vehicle bodywork renovations.
When undertaking a clear coat repair project, attention to detail during preparation is paramount. Neglecting proper surface preparation can lead to subpar results and future damage. Avoid common mistakes like inadequate cleaning and decontamination, which can introduce contaminants compromising the bond between the new clear coat and the underlying surface. By following best practices outlined in this article, you’ll lay the foundation for a successful clear coat repair, ensuring long-lasting protection and a professional finish.