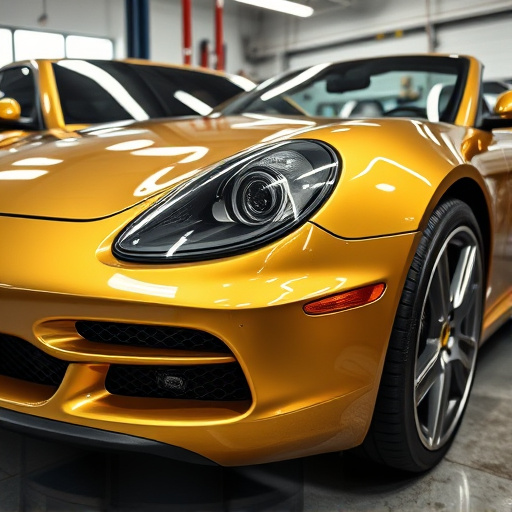

Clear coat repair begins with a thorough inspection and surface preparation. This involves cleaning and addressing any cracks, chips, or scratches. The process then entails applying thin layers of clear coat, drying each layer, and polishing for a flawless finish. Post-repair, a final inspection ensures quality, and regular maintenance using appropriate car care products is essential to protect the repair and maintain its longevity.
“Discover the art of restoring your vehicle’s sleek finish with our comprehensive guide to clear coat repair. This step-by-step breakdown demystifies the process, from initial damage assessment and surface preparation to the precise application and polishing of the clear coat. Learn how to achieve a professional-looking repair that enhances your car’s exterior. With these expert tips, you’ll be equipped to tackle minor scratches and swirls, ensuring your vehicle maintains its vibrant, protective clear coat finish.”
- Evaluating the Damage and Preparing the Surface
- Application and Polishing of the Clear Coat
- Final Inspection and Maintenance Tips
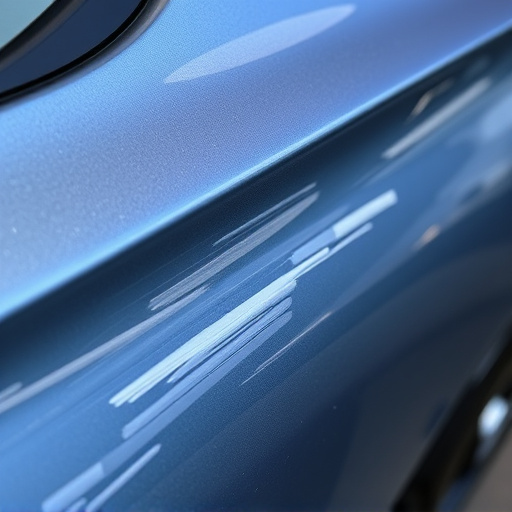
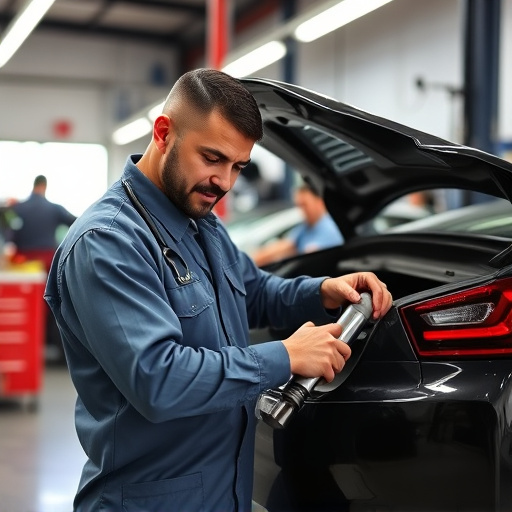
Evaluating the Damage and Preparing the Surface

Evaluating the damage and preparing the surface is a crucial step in any clear coat repair process. The first task involves meticulously inspecting the damaged area to determine the extent of the issue. Look for cracks, chips, or scratches on the clear coat, as these can vary from minor imperfections to significant defects that require professional attention. It’s important to note that even small damages can impact the overall appearance and protection of your vehicle’s finish.
Once the damage is identified, the surface needs to be thoroughly cleaned and prepared. This includes removing any dirt, debris, or previous repair residue. A collision center often employs specialized cleaning solutions and equipment to ensure the area is free from contaminants. For vehicles with tire services or vehicle dent repair history, it’s especially vital to address any underlying issues that might compromise the new clear coat application. Proper preparation sets the stage for a successful and long-lasting clear coat repair job.
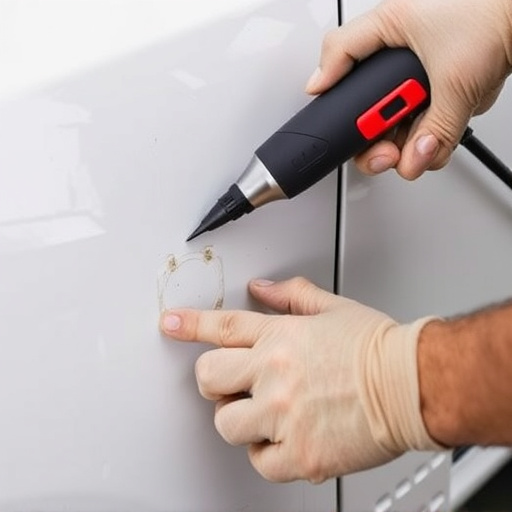
Application and Polishing of the Clear Coat
After preparing the damaged area for clear coat repair, the next step involves applying and polishing the clear coat. This meticulous process requires precision and the right tools to ensure a flawless finish. The clear coat is typically applied in thin, even layers using a specialized gun or sprayer. It’s crucial to maintain a consistent distance from the surface to achieve an even distribution of the coating. Once the first layer sets, subsequent layers are added, allowing each to dry slightly before application to avoid bubbling or uneven surfaces.
Polishing is the final step in the clear coat repair process, where a buffing wheel and compound are used to smooth out any imperfections left by the paint and clear coat. This meticulous polishing ensures that the final layer glistens, creating a durable, protective barrier on the vehicle’s surface. The result is not just a visually appealing finish but also enhanced protection against future car scratch repair or collision repair needs, making it an essential step in any collision repair process.
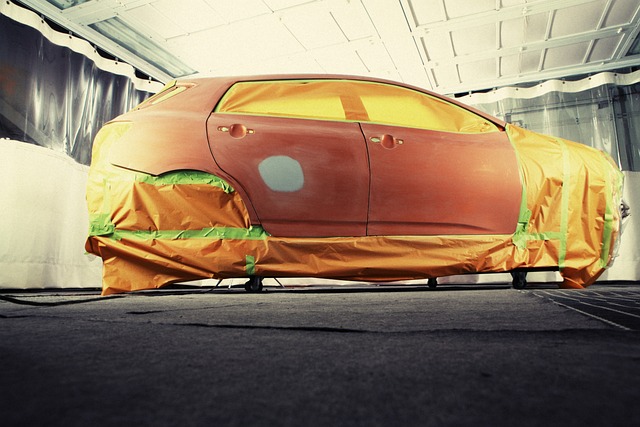
Final Inspection and Maintenance Tips

After completing the clear coat repair process, a meticulous final inspection is paramount to ensure the work meets high-quality standards. This step involves a thorough examination of the repaired area under various lighting conditions to detect any inconsistencies or imperfections. Look for signs of orange peel, unevenness, or residual damage from the initial incident. The goal is to achieve a seamless blend that matches the surrounding clear coat and ensures the vehicle’s exterior looks as good as new.
Regular maintenance plays a crucial role in preserving the integrity of the clear coat repair and extending its lifespan. It’s recommended to wash your vehicle gently using specialized car shampoos and microfiber cloths to avoid scratching. Steer clear of abrasive washing techniques or harsh chemicals, as they can compromise the repair. Additionally, applying a high-quality wax or sealant every few months will create a protective barrier, safeguarding against environmental elements and enhancing the clear coat’s durability during auto painting and vehicle body repair processes, ultimately contributing to a longer-lasting, more attractive finish in your auto collision repair journey.
Repairing a clear coat involves careful evaluation, precise preparation, and meticulous application. By following these step-by-step processes, you can effectively restore damaged clear coats, enhancing the vehicle’s aesthetics and protecting its finish. Remember, proper maintenance and regular inspections are key to preserving the repair’s longevity. With the right tools and techniques, achieving a flawless, durable clear coat is well within reach for any automotive enthusiast.